Smartphone Food Photography: A Practical Guide
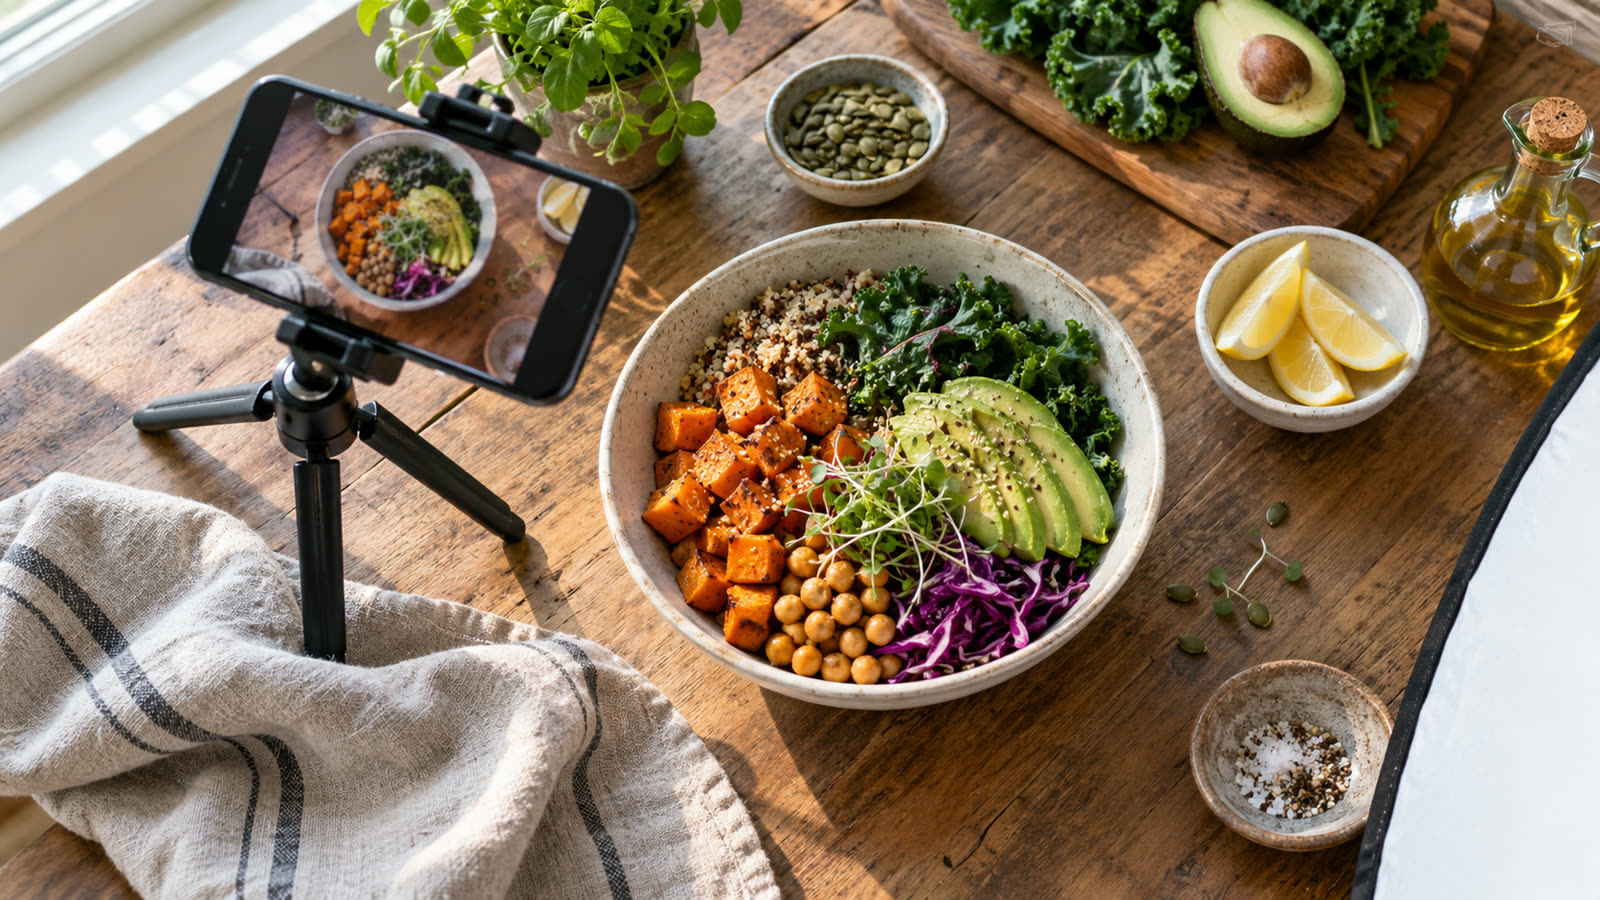
Photographing a homemade meal with a smartphone near a window
An appetising food photo does not require a studio kitchen or an expensive camera. It needs gentle light, a background that stays quiet and an angle that shows what makes the dish special. The same method works for a home recipe, a menu item or a blog post.
Find the light first
Place the dish beside a window rather than under harsh direct sun. Turn off a yellow ceiling light so colour does not become mixed. If the shadow is too deep, place a sheet of white paper or a light towel on the opposite side to bounce a little light back.
Clear the frame
Keep only objects that support the story: a spoon, fresh ingredients or a simple cloth. Move cups, cables and busy packaging away. A calm background gives colour and texture room to speak.
Choose an angle that fits the food
- Use a top-down view for salads, flat dishes and several arranged elements.
- A 45-degree angle shows the height of burgers, cakes and pasta bowls.
- A lower side angle works well for drinks and layered dishes.
Stabilise the phone and check the edges
Clean the lens, turn on the grid and tap the most important part of the dish to focus. Leave breathing room around the plate, and check that you have not cut off an edge or an awkward part of a serving hand. Take several frames with small changes in distance and angle.
Edit lightly and keep the food honest
Raise exposure and shadows a little, correct white balance, then reduce saturation if the colour looks artificial. Avoid heavy sharpening or a filter that erases texture. A good image should make people imagine the taste, not question the colour.
Try this: Photograph the same plate beside a window and in the middle of the room. Compare the shadows and colour. You will usually find that better light matters more than a newer phone.