
Light Painting: Turn a Small Light Into an Extraordinary Photo
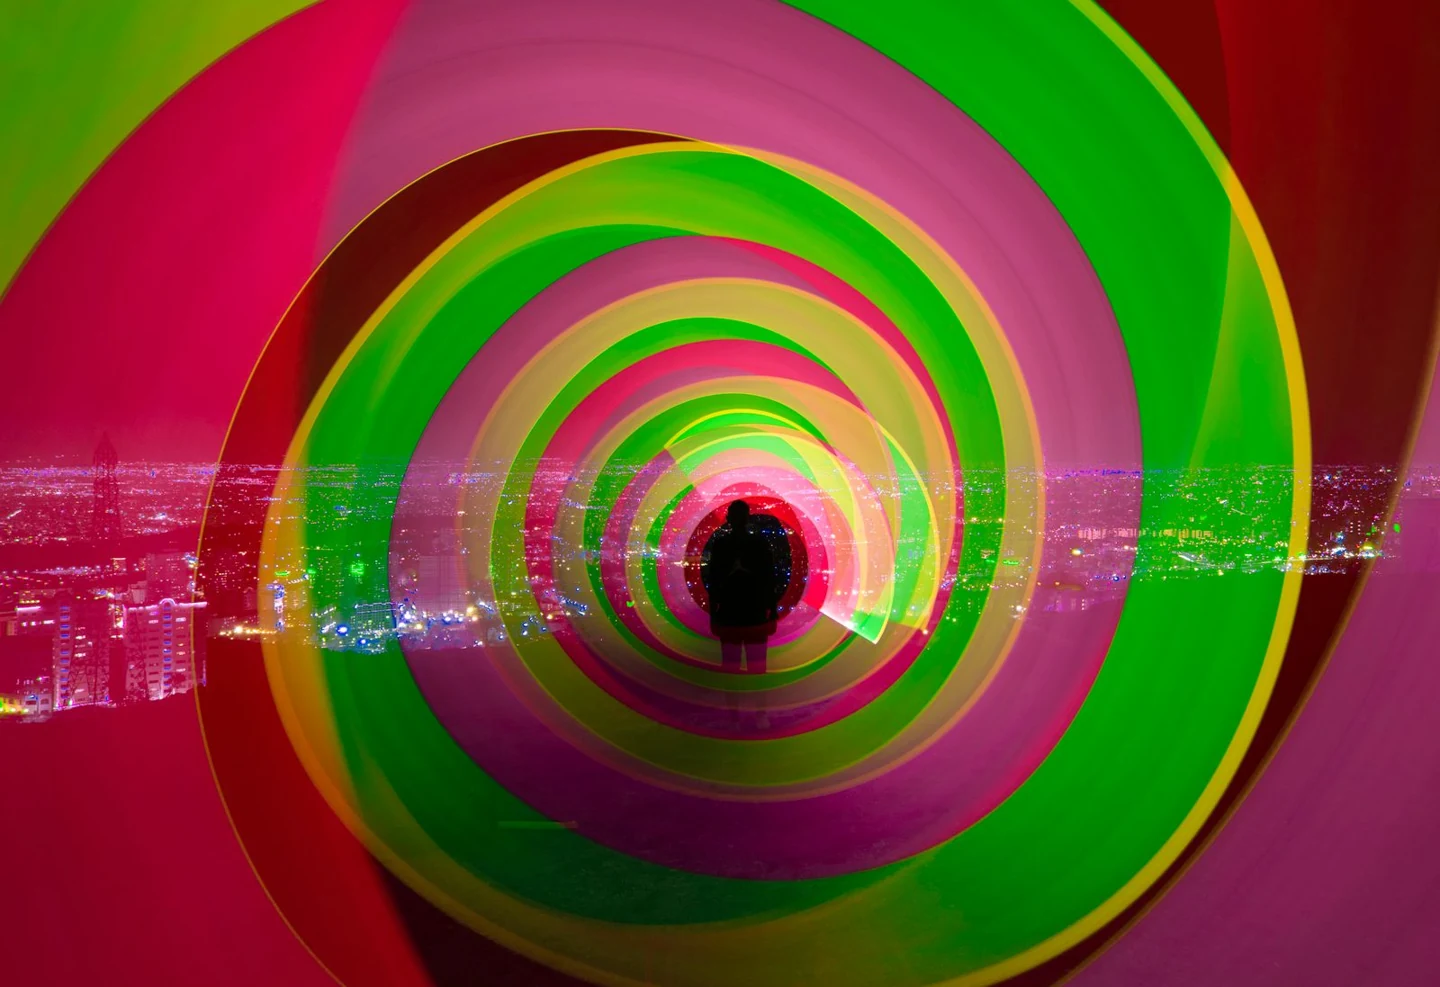
A colourful light-art composition creates a tunnel around a silhouette and city scene. Photo: ali atyabi / Pexels; creative inspiration, not a result from the suggested exercise.
- The trick is time, not a magic brush
- Two different ways to “paint”
- What you actually need—and what a phone must support
- A sensible camera starting point, not a universal recipe
- Your first project: five frames, one circle
- Why the first result may look messy
- Make it a picture, not just an effect
- Sources and photographs
Wave a small light through the air and the shape disappears as soon as your hand moves on. Give a camera a few seconds to watch, and that same movement can become a glowing ribbon, a floating loop or a scribble that looks as though it escaped from a drawing.
This is light painting: a playful meeting between photography and drawing. You do not need to begin with a spectacular location or an expensive lighting kit. Begin with one light, one simple shape and a camera that lets you control exposure time.
The trick is time, not a magic brush
A photograph need not represent a tiny frozen instant. During a longer exposure, the camera records light arriving over a stretch of time. Move a visible light source while that exposure is happening, and its changing position can leave a trail. Adobe’s introduction to light painting explains the basic idea.
The camera is not seeing a solid glowing object hanging in the room. It is gathering successive moments into one image. That difference is the fun: your hand supplies the movement, but you only discover the complete drawing when you look at the photograph.
Two different ways to “paint”
- Draw toward the camera: let a small, low-intensity light face the lens as you move it. The visible trail becomes the subject.
- Light an object: keep the beam off the lens and sweep it over a stationary subject, such as a plain cup. You are building its illumination instead of drawing a line in open space.
Nikon’s lighting guide discusses moving a flashlight across a subject rather than leaving it pointed at one spot. Try the first method for your initial experiment; keeping the task narrow makes mistakes easier to understand.
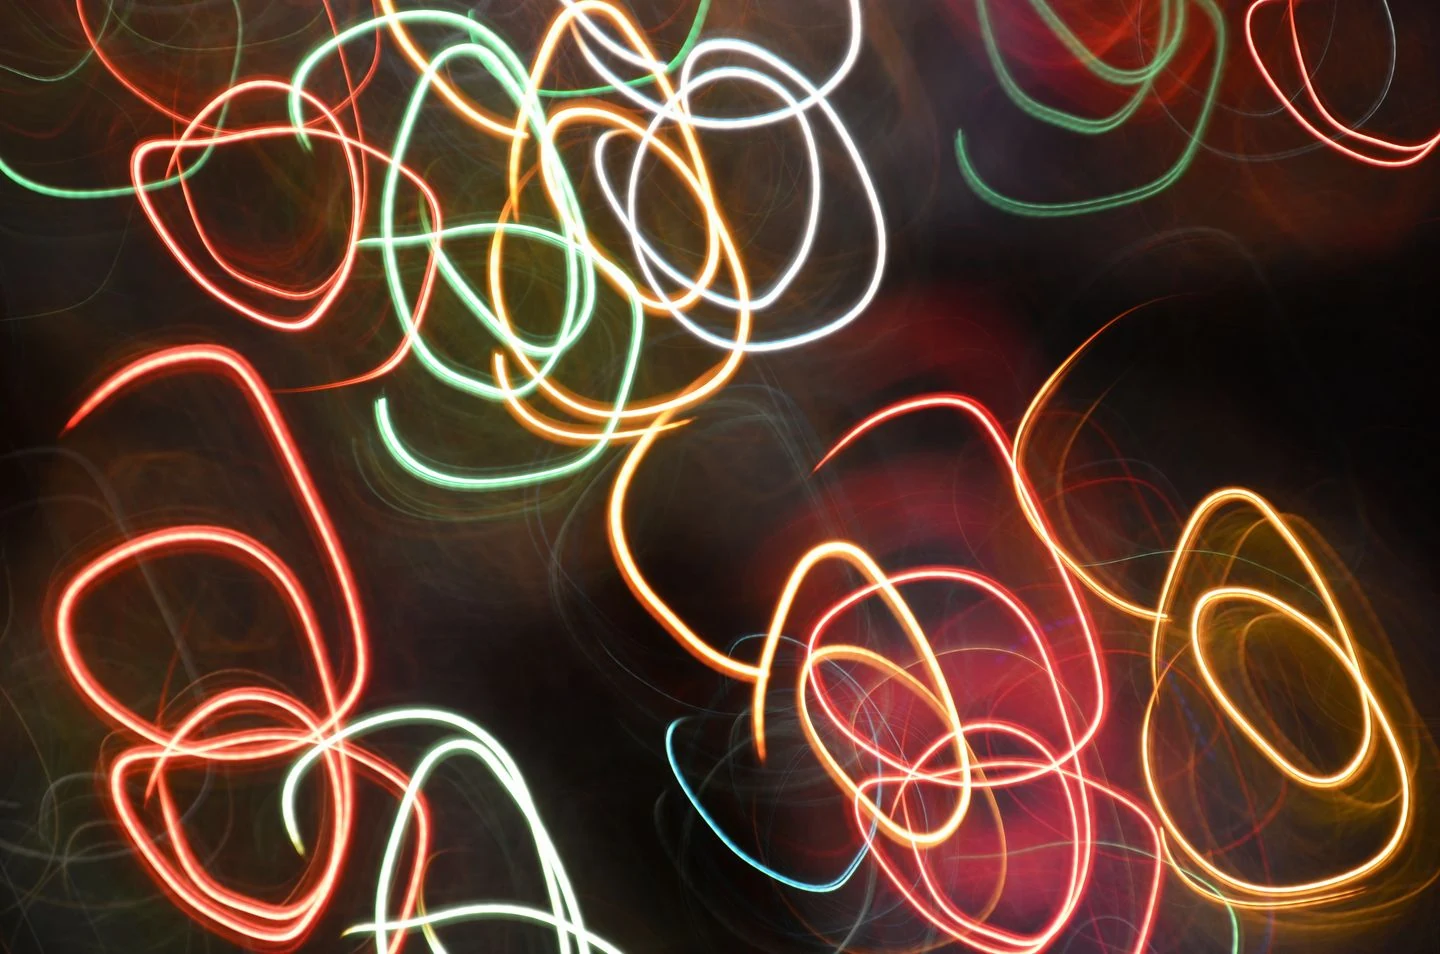
What you actually need—and what a phone must support
Use a camera with a controllable slow shutter, a steady tripod or secure support, a small battery-powered LED light, and an uncluttered space. A self-timer or remote trigger helps you avoid nudging the camera at the start.
A phone can be suitable if its camera mode or a trusted camera app supports the required exposure control or slow-shutter capture. Not every phone does, and an automatic Night mode is not necessarily equivalent. Check your device’s documentation before buying anything. If you cannot hold the exposure open long enough, borrow a suitable camera rather than assuming you are doing the movement wrong.
Choose a familiar indoor area. Clear the floor before dimming the lights, keep enough visibility to move safely, and do not stand on furniture. A battery LED is enough: skip flames, burning steel wool, fireworks and lasers. Never shine a bright light into someone’s eyes.
A sensible camera starting point, not a universal recipe
Canon’s beginner guide suggests Manual mode, ISO around 100–200, an aperture around f/11, and exposures of 10–30 seconds as a starting range. Those are camera settings to adapt, not a guarantee or the recorded settings of the photographs in this article. A phone may not offer aperture adjustment.
For a short first drawing, start at the lower end of that time range. Focus on the place where you will draw while it is illuminated, then lock focus or switch to manual focus if available. Nikon School also recommends securing the camera and preventing focus from changing during the shot.
Before drawing, make an exposure without moving the LED. If the room is already much brighter than you want, adjust the ambient light or exposure first. Otherwise, you will be trying to fix a background problem with increasingly frantic hand movements.
Your first project: five frames, one circle
Make the same simple loop for each frame. Keep the camera position and exposure settings unchanged unless the starting image is unusable. These are suggested exercises, not a Dajran equipment test.
- Frame one: draw one relaxed circle. Review whether it fits inside the picture.
- Frame two: repeat it faster. Compare the brightness and continuity of the trail.
- Frame three: repeat it more slowly. Look for bright patches where your hand pauses.
- Frame four: switch the light off while moving to a new position, then draw a second loop. Notice the difference between separate shapes and a continuous joining line.
- Frame five: leave more empty space around the drawing. Decide whether less activity makes the result stronger.
Pick the frame you like and write down what changed. A useful note is “slower movement made the lower corner too bright,” not “this camera is bad.” One clear observation gives you a better next attempt than twenty random settings changes.
Why the first result may look messy
- A bright blob instead of a line: reduce the LED’s intensity or avoid lingering in one place. Review one change at a time.
- The whole background is blurred: check that the camera and its support did not move. A moving subject and a moving camera create different problems.
- You appear as a ghost: ambient light or the LED may be illuminating you. Dark clothing and avoiding self-illumination can reduce your appearance, not guarantee invisibility.
- The shape gets cut off: rehearse within the frame with the room lights on before trying again.
For the last two points, see Canon Academy’s light-writing advice. Save words and elaborate drawings until you can place a simple shape where you want it.
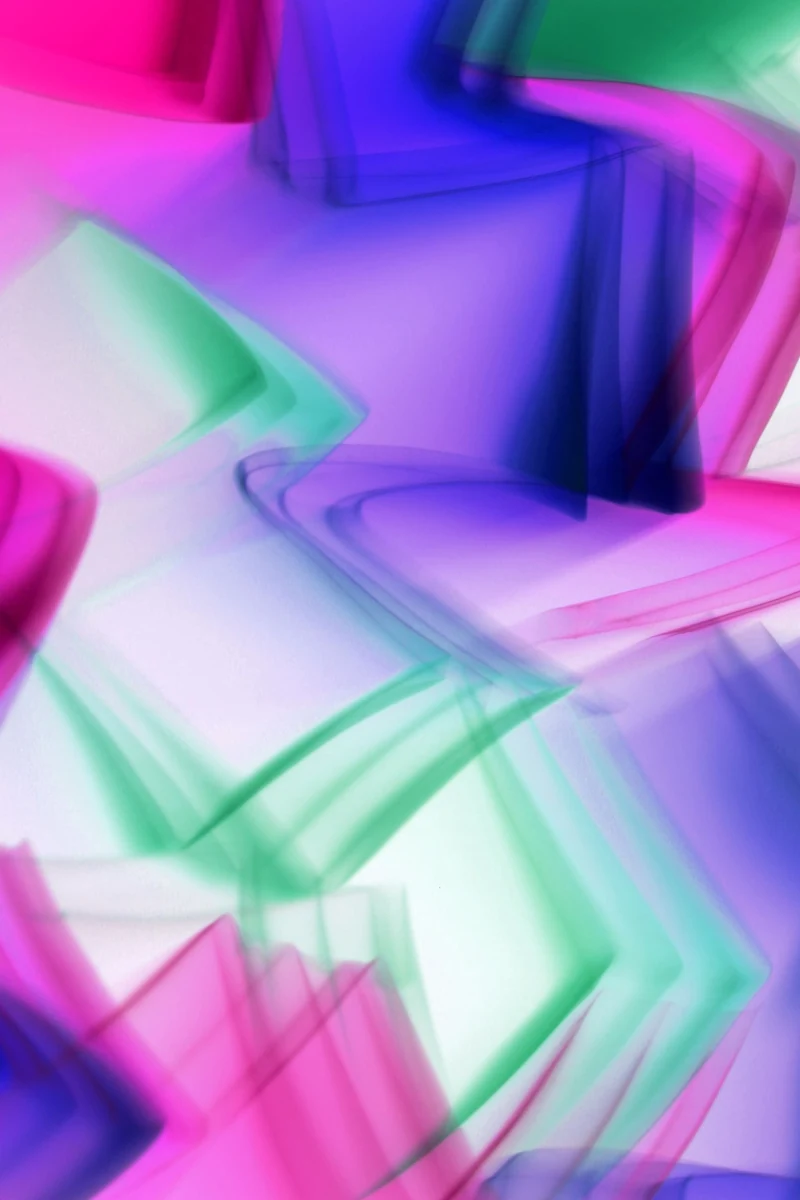
Make it a picture, not just an effect
Choose a small brief: “one loop that feels calm,” “a line that looks like it is dancing,” or “two colours that nearly meet.” A limit gives your experiment direction without demanding that you already know how to draw well.
Compare a busy version with a quieter one. Look at the space around the light, not only the light itself. The most satisfying result may be the one where you stopped earlier.
If that playful way of looking appeals to you, try how trompe-l’œil art fools the eye next. In one case an artist makes a flat surface suggest depth; here, a camera makes a passing movement stay. Both remind us that an image can do more than copy the moment in front of it.
Sources and photographs
Technique references: Adobe, Nikon, Nikon School, Canon and Canon Academy, linked beside the relevant guidance. The exercise is an editorial suggestion, not a demonstrated Dajran shoot. The licensed images illustrate creative directions; their complete production workflows are not documented here, so we do not claim they were unedited or made in one exposure.
Cover: ali atyabi / Pexels. Interior photographs: photoGraph and Landiva Weber, linked in their captions. All three are used under the Pexels licence.
All three images are licensed from Pexels, credited and linked above. Our preparation was limited to proportional resizing and WebP conversion with full frames preserved; we added no light trails or generated elements. We do not assume the photographers’ original artworks were unprocessed.



What do you think?
Share your thoughts or experience. Keep the conversation kind and on topic.
Participation Rules
نريدك أن تكون مصدرًا لزملائك من القراء ونأمل أن تستخدم قسم التعليقات لإجراء ذلك. لقد صممناها لرفع وتوسيع الاستجابات الأكثر ذكاءً وإدانةً ، وتقليل أو إخفاء الأسوأ. هذه هي قواعد الطريق:
ابقى في صلب الموضوع
عند تقديم تعليق ، لا تخرج عن الموضوع. لا تعلق على المعلقين الآخرين أو معتقداتهم السياسية المفترضة. ناقش مزايا القصة نفسها. لا تنشر تومي. هذا ليس المكان المناسب لصق فصل من رسالتك (أو أي شخص آخر) أو ورقة بيضاء.
أظهر الإحترام.
نحن نشجع ونقدر النقاش العميق. ما عليك سوى التأكد من أنه عندما لا تتفق مع فرضية القصة أو أي معلق آخر ، فإنك تفعل ذلك بطريقة محترمة ومهذبة.
كن مهذبا وحافظ على نظافته
نحن نغطي التكنولوجيات الجديدة موقعنا ليس منفذاً للفظاظة. نحن لا نتسامح مع الإهانات الشخصية ، بما في ذلك استدعاء الأسماء أو العنصرية أو التمييز الجنسي أو الكلام الذي يحض على الكراهية أو الفحش. هذا يعني أنه لا توجد أي ملاحظات بذيئة أو مسيئة أو مضايقة أو تنمر. إذا لم تكن مدنيًا ومهذبًا ، فلا تنشره.
تجاهل المتصيدون
أفضل رد على القزم - شخص ما يتكرر عدائيًا واستفزازًا - ليس ردًا. من فضلك لا تشجع السلوك السيئ عن طريق الاستجابة ؛ انها لا تخدم سوى لسرور المتصيدون والبيض عليها. إذا كان هناك شخص ما يسيء استخدام موضوع مناقشة ، فأبلغ عن أي تعليقات مسيئة ، وسنتناول الموقف.
كن مسؤولاً وأصيلاً
انشر آرائك فقط بكلماتك الخاصة. أنت مسؤول عن المحتوى الذي تنشره.
لا تنشر رسائل غير مرغوب فيها أو إعلانات
إذا لم يكن لديك عقد إعلان معنا ، فإن هذا الموقع الإلكتروني ليس عبارة عن لوحة إعلانات لنشاطك التجاري. لا تنشر محتوى غير مرغوب فيه أو محتوى ترويجي ذاتي أو حملات إعلانية. لا ضغط أو تجنيد أو استجداء.
نقرأ التعليقات
على الرغم من أن مجالس مناقشاتنا لا تخضع للإشراف الرسمي ، إلا أننا نولي اهتمامًا وثيقًا بها. نحتفظ بالحق في تعديل أو حذف التعليقات التي لا تلبي معاييرنا.
نحن نحظر الأعضاء الفاضحين
إنه ليس شيئًا نتمتع به. ولكن عند الضرورة ، سنحظر الأعضاء الذين لا يلتزمون بهذه الإرشادات.
شكرا على اتباع هذه المبادئ التوجيهية.